How to customize your blog book cover
Add a photo to your book cover
Like most photobook making websites, we also allow you to customize the cover of your blog book. Because we receive many questions from you as to how to go about, we write this tutorial on how to customize your blog book cover and upload a personal photo to it!
When you create your book project (or customize an existing project), you can find the cover designer in step 4. It works pretty straight forward.
- You can enter the name of the author of the book
- You can choose one from six cover template (see the second screenshot). Three of these cover templates allow you to upload personal photos to it!
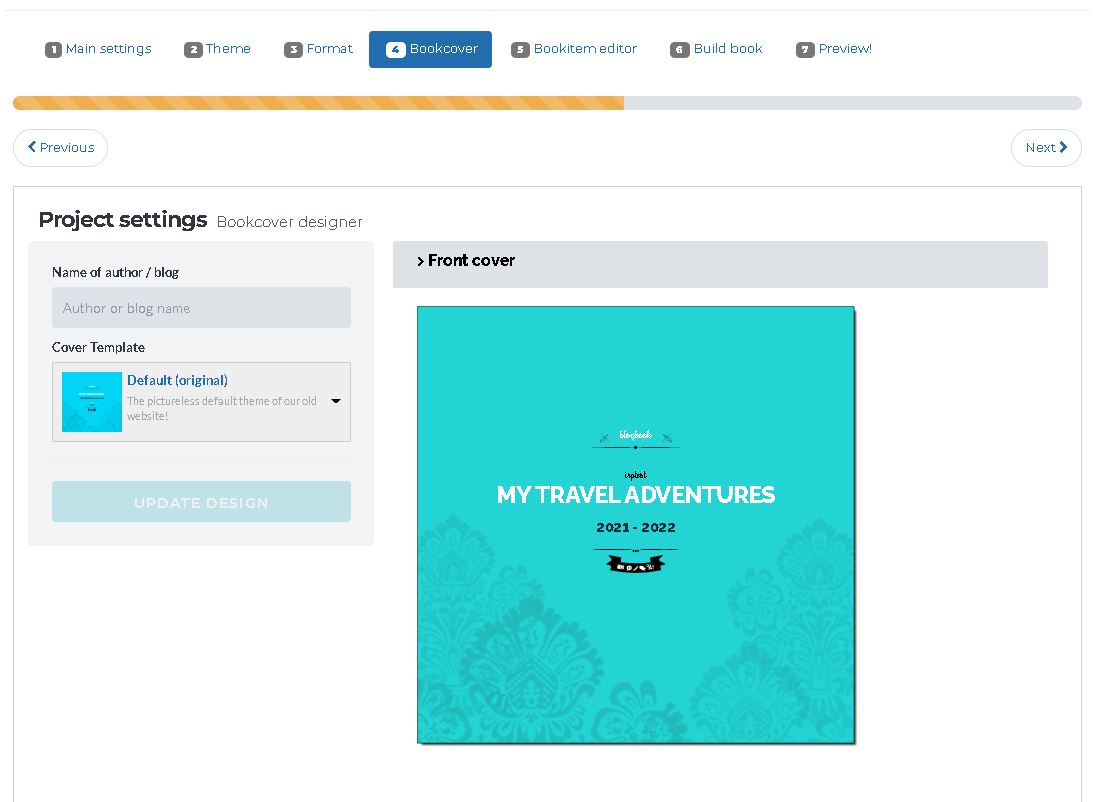
Step 4 of your book project. The cover designer

Choose a cover template. Simply click on the default template to see the options.
If you select a cover template that allows you to upload photos to it, you will see that the cover of your book will update and show grey areas on it with the text 'click here'. If you click on these areas, look for a toolbar that appears at the bottom of the cover. Check out this screenshot:
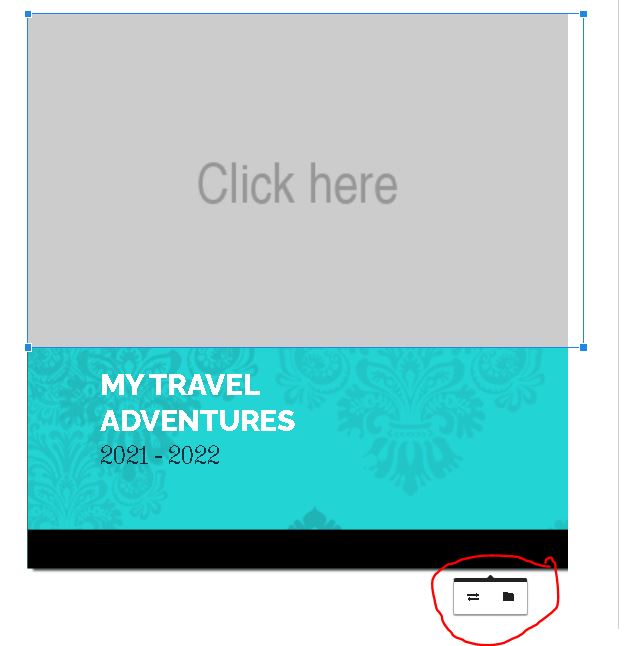
Click on the most left icon (the two horizontal arrows). This will open a simple file browser that you are most likely very familiar with. You can use this browser to find a photo on your computer that you would like as a picture on your book cover.
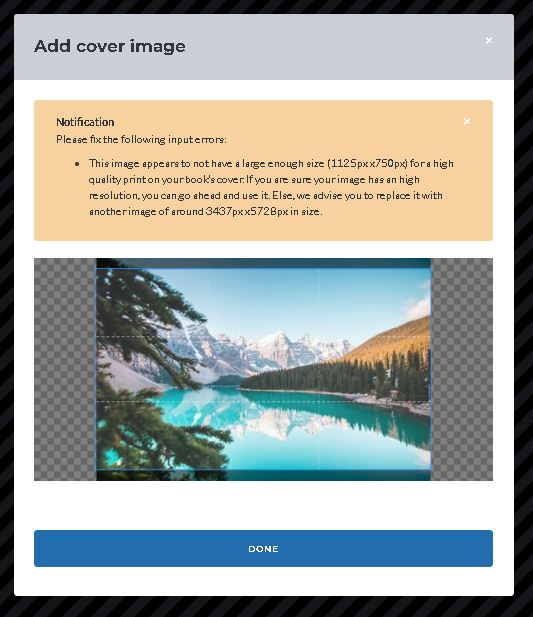
After selecting your photo, you will be shown an image cropper tool that you can use to cut the image into exactly the right propertions for this specific cover format.
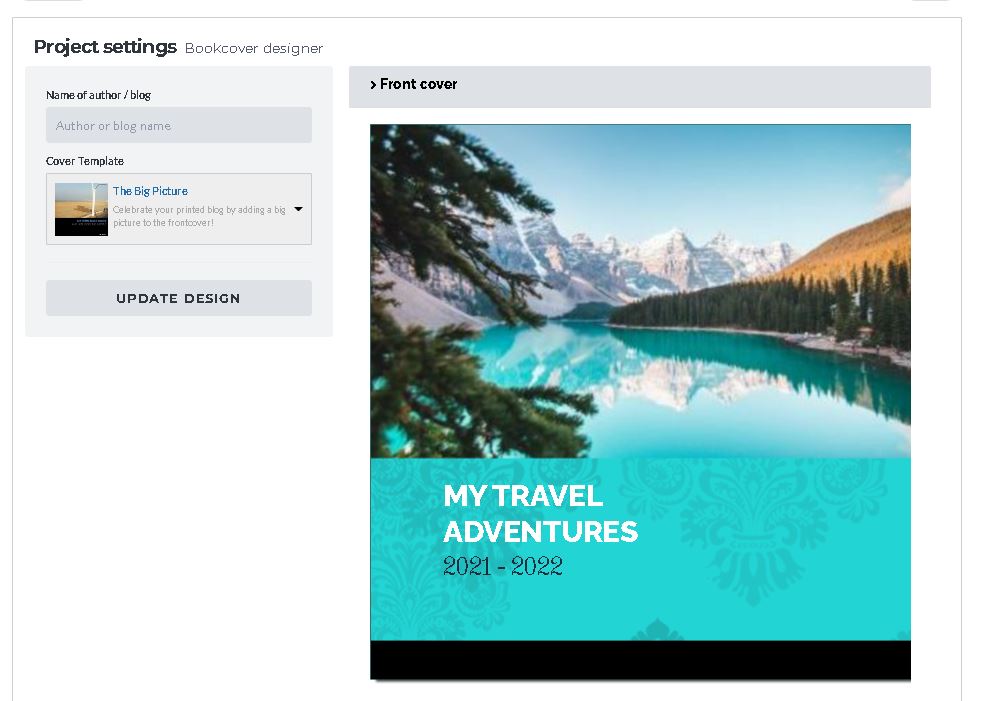
Well, and that actually is your final step. Of course, if you choose a cover template that allows you to upload more than one photo to the cover, you will have to upload pictures into all grey fields. So repeat the above steps for each grey area on the cover.
That's it!
I hope this tutorial was clear and useful to you!
If not ,let us know by sending us an email!
Warm Regards,
The Into Real Pages team